Elephants on Parade

3.02.2014


In case you haven't noticed allow me to point out that there's been a distinct lack of sewing for me around here lately.  Why?  It's pretty simple actually - most of the things that I've attempted to sew for myself lately have ended up being little disasters.

First there were the leggings that I made out of fabric that was too thin for the job and when I put them on I discovered that they show off every lump and bump I own (and my undies).  No bueno.

Then there was the dress that I drafted and made in an attempt to copy a store-bought dress that I own.  I tried to make it out of a really lovely cotton/lycra knit but it ended up being way too tight.  Not a little bit too tight, mind you.  Like "sausage casing" tight.  Not attractive.  And also no bueno.


So after those two projects I was a bit put off of sewing for myself for a while.  It's pretty disheartening when hours of work and yards of fabric end up looking like crap.  But if there's one thing that I've learned from my statistics class this quarter it's that the probably of a project failing three times in a row is only 12.5 percent.  See, math can be fun.

I was thinking of making a tried and true Tova top in an attempt to get at least one success under my belt, but then I became enamored with the idea of sewing up this fantastic batik fabric into a peplum top.  I mean, who doesn't want a peplum that looks like a bunch of elephants on parade?


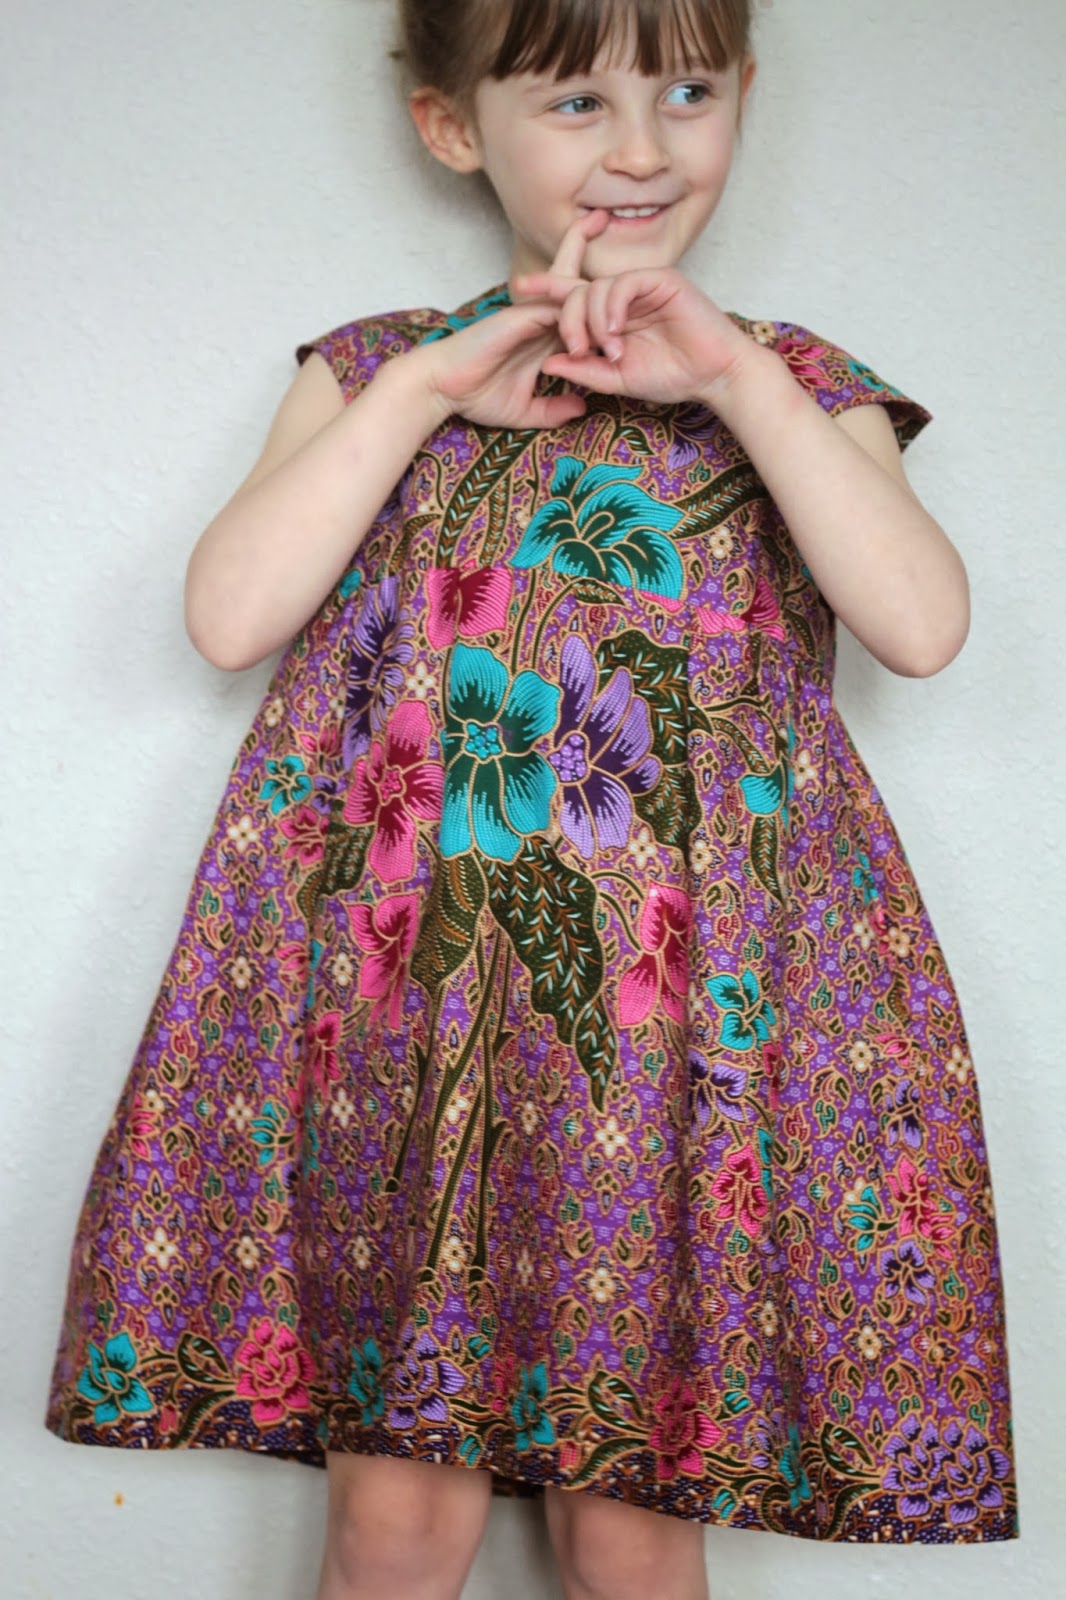
The fabric is part of a bundle that my mom gave me a couple years ago in an attempt to clean out her ridiculously old stash of fabric.  It's a batik that she bought back when she lived in Indonesia almost forty years ago.  I'd say that it was about time that it got made into something.


For a pattern I used Vogue 8815 which I've actually made before but I was breastfeeding the first time around and now I'm not which means that my chest has shrunk about two sizes since the first time I made the top so I ended up having to make a muslin once again.  I cut out a size 8 but took in the sides a bit around my underarms and let them out a bit around my waist.  I also sewed the peplum on with a 3/8 seam allowance rather than a 5/8 to get the pepulm to hit at my natural waist and I lengthened the peplum portion of the top by about a 1/2 an inch.  I finished the neckline and armholes with homemade bias tape and since I ended up making my bias tape too very narrow I trimmed a 1/2 an inch off of the armholes before attaching the bias tape.  I also ended up lowering the neckline since I discovered that a really high neckline doesn't look so good on me.  When all was said and done I was pretty happy with the entire top except for one thing - there was a bunch of excess fabric around the chest area that I somehow didn't notice when I made the muslin.  I would attribute the excess fabric to the fact that I have a teeny-tiny chest but I remember also having some excess fabric on the top the first time I made the pattern so I'm thinking that the issue may be with the pattern and not my tiny chest.  In any case, while complaining to my husband about the gaping neckline I was hit with a moment of inspiration and decided to make two tiny pleats in the top to take out the excess fabric - and what do you know?  It worked! 


These two little pleats are like two little magicians, turning a top that I kind of liked into a top that I kind of love. 

On a totally unrelated note, allow me to tell you how much I love this cake and caramel sauce.  I made it recently for Ben's birthday and I have to say that it far exceeded my expectations (actually I believe my exact words were "I want to bathe in this sauce").  If you make it you'll either thank me or curse me as you're eating your third piece (or as I like to call it "the piece I'm going to regret").

Two and a Half Yards

2.23.2014


Well in case you were ever wondering, here's what you can make out of two and a half yards of luscious Valori Wells knit fabric?

One cardigan.

Two waistbands.

And one dress.


Sadly, I think that this is the last thing that I'll be able to make out of this fabric since I've used up just about every remaining scrap of it.  That's probably a good thing though since I'm guessing that you're kind of sick of seeing this fabric.


The dress is the ever lovely Oliver and S Hopscotch Dress which I happen to think is kind of perfect for everyday wear.  It's made out of knit fabric so it's incredibly comfortable plus it's long sleeved so it's a bit warmer than most dresses.  Those are both big pluses in my book.  The only downside of the pattern is that O is on the verge of outgrowing the sizes that I own so this version is actually a size four with some added length.  Fortunately, O is a bit of a string bean so this actually worked perfectly for her.  I love it when things actually work out  - like unintentional pattern matching at the seams.  Glorious, I tell you!


The neck binding is just leftover brown organic jersey from the same cardigan and harem pants.  I happen to have a tiny bit of this fabric left so you may have to put up with seeing it in at least one more project.


And lest you think that O is happy all the time, here's the face that she gives her little sister to let her know that she is not pleased.


Hats For Bats. Keep Bats Warm.*

2.15.2014


I realize that the rest of the county has been buried under snow for the past couple of months but would you all hate me if I told you that we've had a fairly mild winter around here?  Sure it was really cold (at least for us) for a while, but we've had no real snow to speak of.  Well, except for last Sunday.  I didn't even realize snow was in the forecast so imagine my surprise when I woke up to a blanket of it (albeit, a very thin blanket).  We spent what felt like 45 minutes bundling the kids up to go outside and then we hit our local park for some sledding. 


In an effort to tie this in to knitting, allow me to point out the kids' hats.  I made them!  They're actually really simple beanies made from this pattern.  For O's I tried to make it super-slouchy so I added a couple inches to the length of the hat.  The benefit of this is that the hat also now fits my head so I can wear it in a hat emergency (should that ever arise).  The yarn for her hat is an Art Yarns super merino that I purchased six years ago for some long forgotten project.


For C's hat I used a wool-silk blend from Tactile Fiber Arts Studio that is dyed with all-natural dyes.  When O was a baby I attempted to make a tiny baby sweater out of this yarn but I ran out of yarn (and motivation) 3/4 of the way through and the half-knit baby sweater sat in an unfinished pile for the next four years.  I finally got around to ripping it out and while you're technically supposed to wet ripped out yarn and hang it to dry to get rid of the crimp, I decided "screw it" and I just knit it right from the ripped out sweater.  I mean, it's just a kid's hat, right?

So there you go.  Two hats and two happy kids.


Oh, and if you find yourself out in the snow and you're super-lazy like me, just make your kids take a picture in front of a snowman that someone else built.  No one will ever know the difference (unless you write it on your blog, of course). 

*Awesome 1980's movie reference, anyone?  Anyone?

The One In Which My Children Join A Harem - Or At Least Wear Harem Pants

2.10.2014


I officially have a new approach to life.  Well, that's probably over-stating it.  Let's just call it a new approach to sewing.  In an attempt to keep sewing from the stash (one month and counting, baby!) I now find myself looking at my stash and wondering "what can I make with you?" rather than just asking "what do I want to make?" followed by the inevitable next question - "what do I need to buy?"  In some ways it's a bit more constricting but in other, very real ways, it's more liberating (no choice paralysis here).


In any case, this is all just to say that in continuing to work my way through the stash I've made two more garments with leftover fabric.  Now I wish I weren't the type of person that makes matching clothes for my kids, but I am so the type of person that makes matching clothes for my kids.

I.  Just. Can't.  Stop.  Doing.  It.


Perhaps  if they didn't look so darn cute in their matching clothes I'd stop, but until that day comes, too bad, suckas!


For this round of "I'm a lame mom and I make my kids wear matching clothes" I made them both Harem Pants made from leftover fabric from my Meridian Cardigan (the main fabric is plain brown organic jersey and the patterned fabric is Valori Wells jersey - both purchased from Fabric.com).  The finished waist measurements for the kids' ages didn't match up with their sizes so I did a little tweaking with the pattern.  For O (who is almost five) I cut between a size four and five in length but they're around a size three in width.  For C (who is almost 2) I cut a size 12 months for the waist but then tapered out to a size 2 for the width and I kept the length a size 2.  For both kids I changed the curve of the crotch so that it doesn't hang down quite so much (I took off about an inch or so).


The pattern recommends any lightweight knit fabric but I think that the waistband definitely needs a knit fabric with some lycra in it or at least some ribbing.  My fabric is just a simple jersey with very little recovery and as a result the waistbands ended up being way too big on both girls.  I solved this problem by inserting elastic in both waistbands but it would have been nice to be able to skip this step and I think using a fabric with more recovery would let you do just that.  Although I probably shouldn't be complaining about this extra step given that this pattern is ridiculously easy to make.  Ridiculously easy.


Fancy Pants

2.05.2014


Remember when I told you that all I wanted to do all day was eat bread?  Well, I lied.

Because really all I want to do all day is eat these legs.  And this tummy.  And this face.


And this booty.


Nom, nom, nom, nom.

Oh yeah, I'm supposed to be talking about sewing.  Well, the pattern on that cute little booty is the Fancy Pants Leggings pattern by Titchy Threads.  The instructions were primo and the pattern pieces fit together perfectly.  You already know of my love of the That Darn Kat Undies Pattern and the fact that I think that it's the perfect pattern to use up all of your leftover bits of knit fabric.  Well, this booty panel may now be the official rival of the That Darn Kat pattern when it comes to using knit leftovers.

As for the fit of the leggings, the instructions guide you through several ways to modify the pattern to make it fit your child perfectly, but my child happened to be sleeping while I was making this pair so additional measuring and fitting was not an option.  Instead, I just used the 18-24 months size as it was given.  The fit seems to be  a teeny bit on the big side for C, but that's a welcome change from the Sunki Leggings that I made and that she outgrew in no time at all (damn you, toddler growth spurts).  The only thing that I had to change for the next pair that I made was the length.  I took off about an inch and it seemed to fix all the bunchiness that I had in the first pair.   That's right.  I already made a second pair - only this time with a strawberry booty panel.


Want an action shot?  Here she is rocking her Fancy Pants Leggings at the Mariner's Fan Fest as she runs the bases and stomps in the dirt.


Let's just say that as a non-sports fan seeing her run around on the field (or at least the part that they would let you run around on) was the highlight of the event.  The rest of the time there was time in my life that I'll never get back.

Surprise Undies

2.02.2014

Surprise!


I've actually quietly been sewing along for this round of KCW.  I've had nothing to show for all my sewing thus far though because all I've been making is undies.  Lots and lots of undies (well, eleven pairs to be exact).  Sadly O is just about to outgrow the last batch of undies that I made for her so  I figured that I would use this week to whip out some new ones.


This is my third time using the That Darn Kat Undies pattern and I love it just as much as the first two times.  I'm beginning to think that it runs a little small though since I had to make the size six for my four year old who doesn't turn five for another three months.  I've also come to realize that the fun part of sewing this pattern is sewing the two main parts together.  Sewing 33 leg and waist bands on undies?  Decidedly less fun.  I've also come to realize that top stitching with a good old zigzag stitch is the way to go.  I used a straight stitch the first time around and I felt like it really limited the stretchiness of the undies.  And while I love the double needle I haven't found it to hold up well over time.  And these undies need to stand up over time because if they're anything like the last pairs that I made her, they will get a ton of use.


I also have to say that the first time that I made these undies I hadn't sewn much with knits so I had to go out and buy a bunch of knit fabric in order to make them.  After spending fifty dollars on fabric (and another ten on the pattern) I was pretty convinced that I had lost my mind.  I mean, who spends 60 dollars on kid's underwear?  But it turned out to be totally worth it because the pattern uses so little fabric that three years later (and three rounds of undies later) I'm still using the same fabric that I bought the first time around (plus some scraps from other projects since I've definitely fallen in love with sewing with knits since that time).  It turns out that that was sixty bucks well spent.  Who knew?

PS - Getting 11 undies to all stay stuck to a wall is a lot harder than it looks.

PPS - I am so not a football fan but GO HAWKS!

Winner, Winner, Chicken Dinner

2.01.2014


And the winner of the Meridian Cardi pattern is Beth!

Congrats, Beth!  I'll pass on your info to Rachael! 

And thanks to all who left comments!  I've loved finding new blogs!

Dreaming Of Spring

1.21.2014


I realize that it's only January but I am so over this winter.  It's dark and it's cold and all I want to do all day is sleep and eat bread.  Last year I at least had a trip to Hawaii to look forward to, but sadly this year we actually have to use our tax return a bit more responsibly.  Boo!  Hiss!

So what does one do when it's dark and cold and miserable outside?

Why, make summer dresses of course!  (Denial is a wonderful thing.)
 
Also a wonderful thing?  Making garments completely from your stash.


Like every other crafter out there I'm hoping to cut down on purchasing this year and use a lot of what I already own, starting with some of the beautiful fabric that's been gifted to me by some kind souls.  This fabric happens to come from Cambodia by way of my mother-in-law who's lived there for the last couple of years.  It's a cotton print fabric but the pattern was asymmetrical on the cut of fabric that I had so I spent a while trying to figure out exactly how I wanted to place the pattern pieces.  Honestly, after sewing up the dress I wish I would have placed the pieces a bit differently.  That blue flower on the front of the bodice kind of drives me crazy.  But that's just me being way overly picky, right?  I'll just make a point to stare at the back which is adorned with gold buttons.  Oooooh, fancy.


The dress is the Oliver and S Bubble Dress that has obviously be de-bubblefied (this just involved not including the lining or the step where you gather the bottom of the dress with elastic - a super-easy modification).  I opted to skip the decorative stitching around the "sleeves" since you can't see any stitching with this fabric and instead I just top-stitched around the armholes and the neckline.
As for the sizing, I chose to make a size 5 for my four and a half year old.   The size four probably would have fit her better right now, but considering that it's currently 35 degrees out I don't think that she'll be wearing this little dress outside anytime soon.


Now if you'll excuse me I'm off to eat an entire loaf of soda bread and to take a nap.  Wake me up when it's spring.

Pot Holders, Baby! Pot Holders!

1.09.2014


For the past year now I've been sewing monthly blocks as a part of Heal at do.  Good Stitches, a sewing circle that makes quilts for hospice patients and their families.  I have to say that when Nicke asked me to be a part of the circle I was very hesitant to join - not because I don't think it's an amazing idea (because I do), but because a quilter I am not.  Quilting is all about precision and accuracy and I operate in the world of "good enough" and "close enough."  I was truly worried that after about one month I would be kindly asked to remove myself from the Flickr group, but somehow after twelve months they're still  putting up with me.  And that in itself is a true testament to the kindness and grace of these women.

With the craziness of the holidays the group decided to take a little break from sewing blocks and participate in a sewing swap.  Can I confess that I'm a sewing swap virgin?  I've never participated in one and so I spent a lot of time brainstorming about what to sew for someone who no doubt has much greater skills than myself.  In the end, I settled on a potholders because

1) who doesn't need new potholders? and

2) it doesn't really matter if they're perfect because they're just going to get food all over them.

After trolling the internet for ideas, I ended up settling on this little one by Amy and it was absolutely lovely to sew except that it doesn't note what the seam allowance should be when you sew on the binding and so for my first potholder I used too large of a seam allowance making it so that I couldn't get my binding all the way over all those layers of Insulbrite (and there are A LOT of layers of Insulbrite).  That potholder is now the reject potholder that resides in my kitchen (score for me!).  On the other two I used a scant 3/8" seam allowance to sew on the binding and it worked perfectly.
As for the fabric I tried to mostly use what I had leftover from other projects, but the recipient happens to be a lover of the combination of orange and purple so I did run out and purchase some dark purple Luxe In Bloom purple fabric for the binding.

Hopefully she loves them.  And hopefully all those layers of Insulbrite do their job and she doesn't end up burning herself when using them - because maiming someone during your first sewing swap is probably a bad thing.

PS - One of the little chocolate sticking out is from Justin's... have you ever tried them?  They make some seriously delicious chocolate and peanut or almond goodies.  Seriously delicious.

The End Of A Career

1.06.2014


A couple years ago Ben decided that he wanted to try his hand at track bike racing, but after his third practice race he called me and told me that there had been a large crash and one of the rider's thumbs had been completely amputated in the crash.  And so I told him that I hope he enjoyed his short but illustrious track bike racing career because I like my men with both thumbs, thank you very much.  And that's how I feel about my attempts at sewing hats - that I've come to the end of my very short and (not so) illustrious career when it comes to sewing hats.


I was totally intrigued by the idea of making a little hat with Sew Liberated's Huck Finn Cap pattern.  I mean, how neat is it to create a fully shaped 3-D object from some flat fabric?  Unfortunately, I learned while making this little cap that my hat-making skills are subpar.  Actually, the whole thing went fine until I got to the very end where you attach the sweatband and then I had all sorts of trouble sewing through all the layers of the fabric and the thick bill.  I ripped it all out once in an attempt to get it just right but after a failed follow-up attempt I said "screw it."  It is what it is.


There are puckers where there are not supposed to be puckers and I never got around to tacking down the front of the hat to make it more of a "newsboy" style because I realized that my bill was sewn on slightly off-center (although, I actually kind of like this look just as much as the "newsboy" style).  And while the outside of the hat may look okay (if you don't look too closely) the inside is kind of a disaster.  Oh, and did I mention that I had to bribe my child with M&M's to get her to wear the hat so that I could take a picture?  And let's not forget what ended up happening with my first attempt at a sewn hat.


I think I'll be sticking with knit hats in the future.  Those seem to go a little better.